5 Ways to Display Acrylic Photo Blocks in Your Home
How to display acrylic photo blocks at home. 5 styling ideas for shelves, desks, mantelpieces, and windowsills. 100x100mm, 180x130mm, 200x150mm sizes. UK shop.
5 Ways to Display Acrylic Photo Blocks in Your Home
Acrylic photo blocks look good on their own, but they look a lot better when you think about where and how to display them. The 25mm-thick clear acrylic gives photos a depth that flat frames don't have, and because they are freestanding, you are not limited to wall space.
Most people order one, set it on a shelf and leave it there. A single block looks fine like that, but with a little thought about placement, grouping and lighting, a few blocks can become a proper feature of the room.
Here are five ways to display them, from a simple desk trio to a full gallery shelf.
1. Gallery Shelf Arrangement
You need a floating shelf or mantelpiece, two to four blocks in mixed sizes, and optionally a small plant or candle to anchor the display.
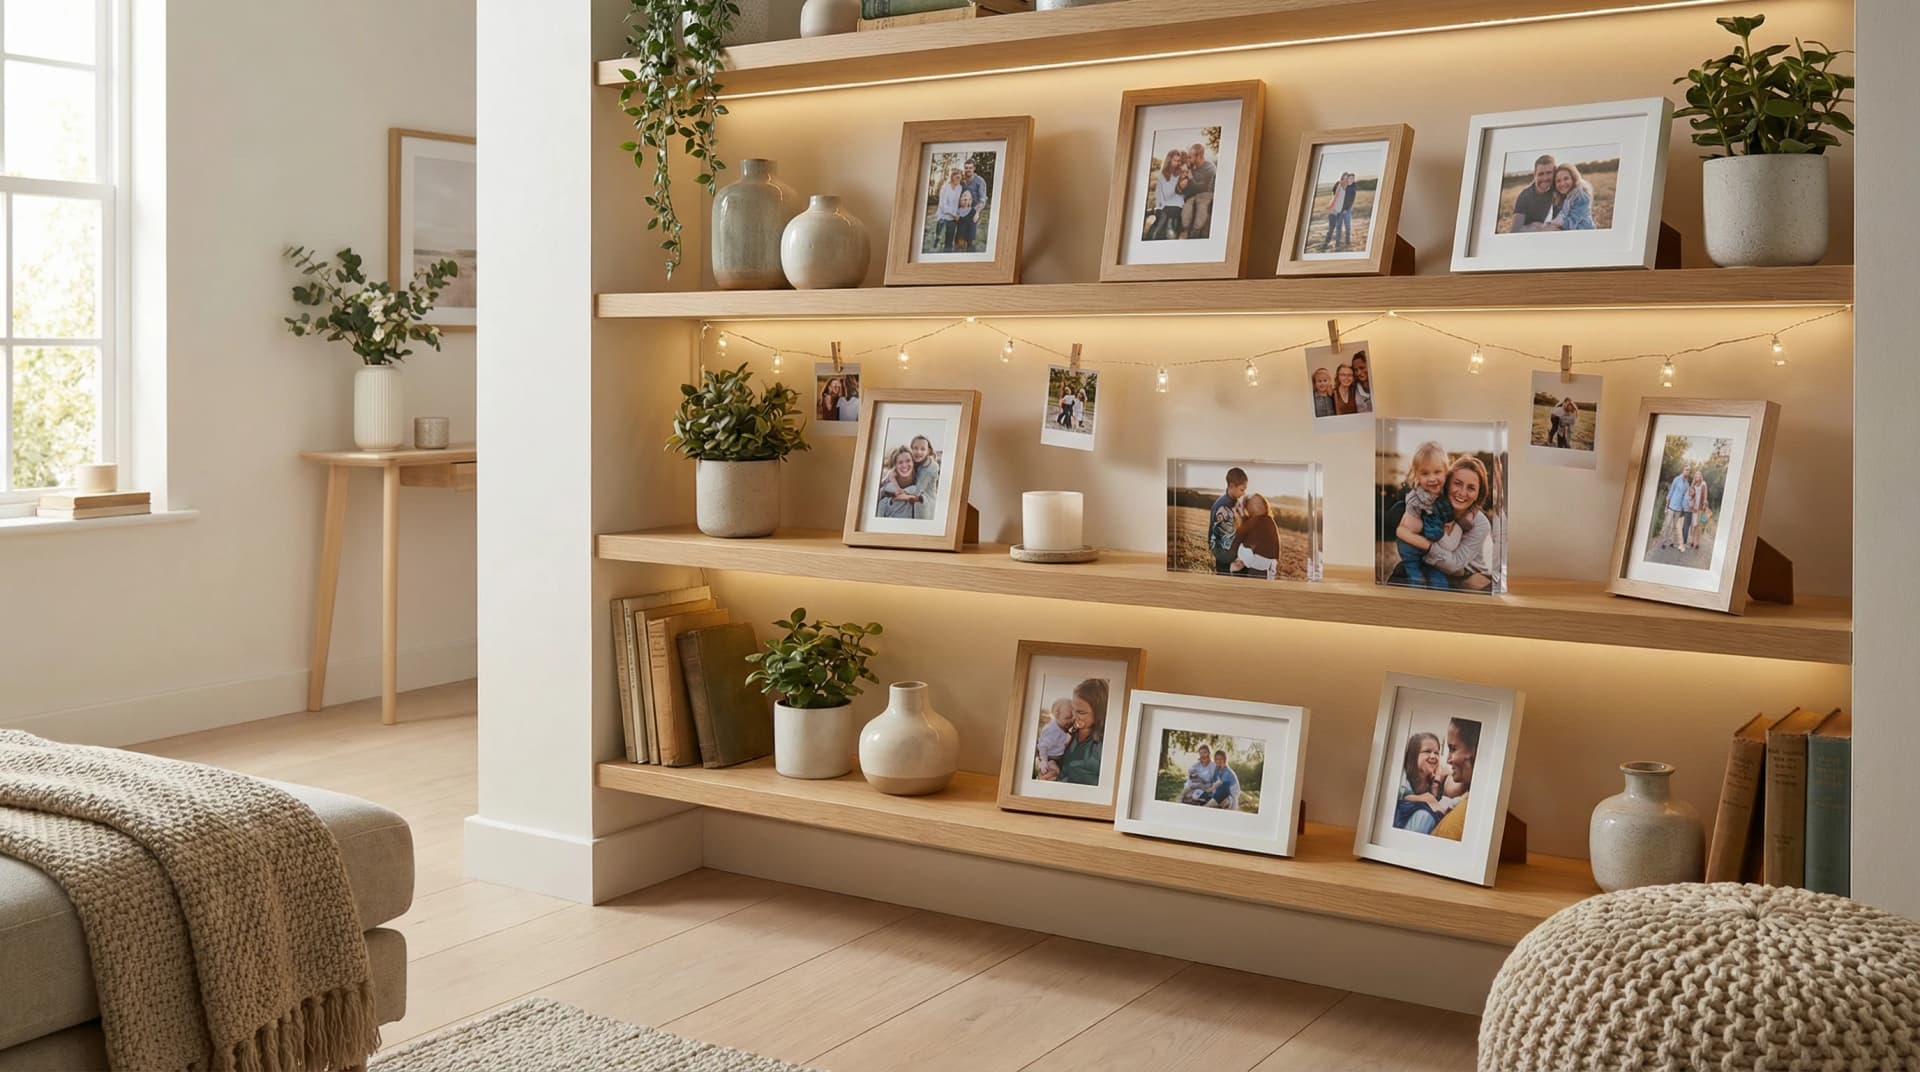
The gallery shelf is the best way to show several photo blocks together. Mix your sizes so the eye moves across different heights and proportions.
Start with a 25mm Photo Block 180x130mm (£30.00) as your anchor piece, slightly off-centre. Place a 25mm Photo Block 100x100mm (£20.00) beside it, and then another 100x100mm on the other side. The different heights create a natural rhythm.
Leave a small gap between each block. The space between them is what stops the shelf looking cluttered. If you have a fifth position, fill it with something that isn't a photo, such as a small potted succulent, a candle or a single book stood upright, so the display doesn't feel like a shrine.
For photos, mix candid and scenic: one portrait, one landscape and one detail shot (a hand holding something, a close-up of flowers, a pet's face).
2. Bedside Memory Display
Here you need one main block and one or two smaller companions.
The bedside table is the last thing you see at night and the first thing you see in the morning, so the photo choice matters more here than anywhere else.
Choose a 25mm Photo Block 180x130mm (£30.00) as your main piece: a favourite couple photo, a family moment or a much-loved pet. Place it towards the back of the table so it is visible when you are lying down. If space allows, add a single 25mm Photo Block 100x100mm (£20.00) in front and slightly to one side, angled very slightly towards you.
Pair this with an Acrylic Photo Mood Light U Frame Portrait (£25.00) on the opposite bedside table. The mood light's soft LED glow sits well alongside the solid blocks, and the portrait orientation fits the narrower table space, so both sides of the bed match without being identical.
Pick warm, intimate photos. Avoid anything too busy or brightly coloured; you want something calm to look at before sleep.
3. Office Desk Trio
For this you need three 25mm Photo Blocks 100x100mm (£20.00 each).
It is the simplest arrangement and one of the most effective: three blocks of the same size in a neat row across the back of a desk. The uniform size looks orderly, which suits a workspace, and the photos make the desk feel less like a desk.
Space them evenly with about 3-4cm between each block. The 100x100mm size is compact enough not to crowd a desk but substantial enough to be visible at arm's length.
Choose three related images, such as three family members, three holiday highlights or three angles of the same trip, so the trio hangs together. Another option is three photos of the same event from different years: a child's first three birthdays, three consecutive holiday destinations, or the same garden view in three seasons.
4. Mantelpiece Centrepiece
This one takes a single 25mm Photo Block 200x150mm (£40.00).
The 200x150mm block is the largest in our range, and on a mantelpiece it holds attention the way a painting would. The thick acrylic catches firelight, candlelight, and natural light from the window, giving the photo a warmth and depth that changes throughout the day.
Centre it on the mantelpiece with matching objects on either side, such as candle holders or small vases, or with nothing at all. The block is big enough to hold the space on its own, so resist the urge to surround it with clutter.
Choose a landscape-oriented photo with strong colour or contrast, like a sunset, a coastline or a city skyline at dusk. The large format rewards detailed photos; you will notice things in a 200x150mm print that you would miss at smaller sizes.
A Round LED Photo Frame (£25.00) at one end of the mantelpiece goes well with it. The circular shape contrasts with the rectangular block, and mixing shapes keeps the display from looking too formal. The LED glow adds warmth during evenings.
Shop Acrylic Photo Blocks

5. Kitchen Windowsill
You need two or three blocks in mixed sizes and a windowsill that catches natural light.
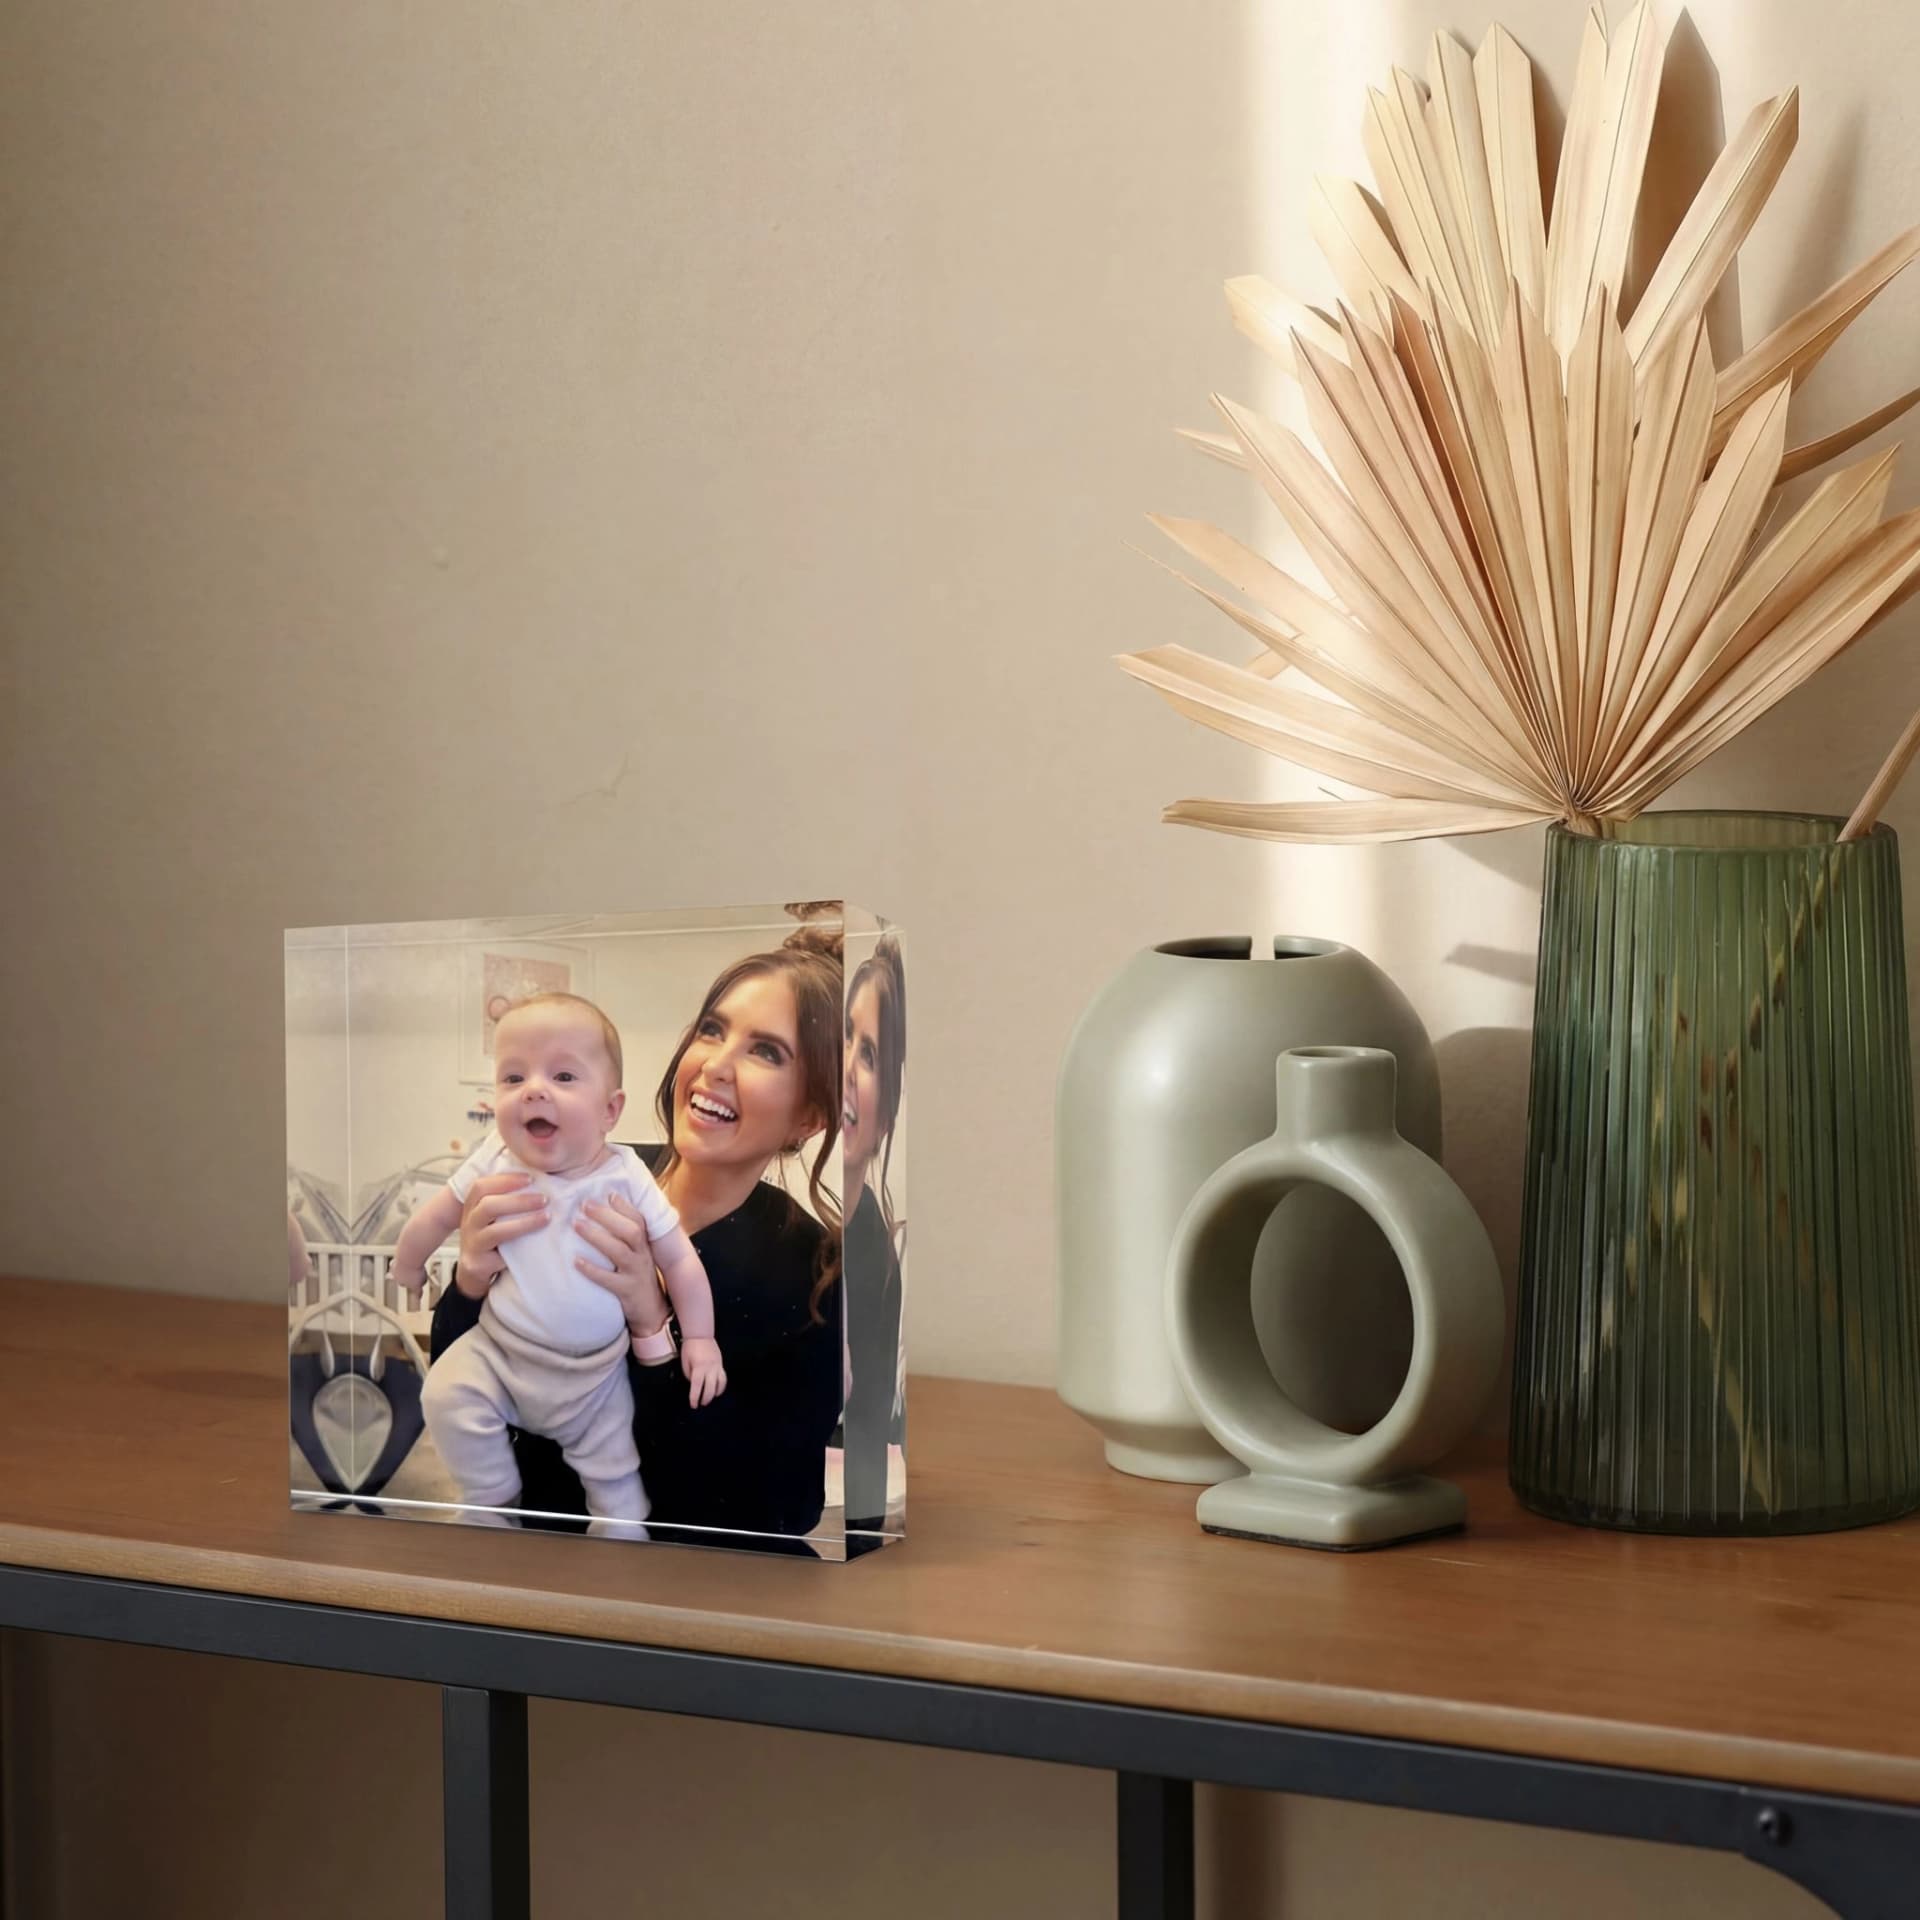
People rarely think of this one, and it is one of the best. Acrylic photo blocks on a kitchen windowsill catch the morning or afternoon sun, and the light passes through the clear acrylic edges, so the photos look almost backlit without any extra cost.
Place a 25mm Photo Block 180x130mm (£30.00) in the centre of the sill with a 25mm Photo Block 100x100mm (£20.00) on either side. Keep a small gap between them and the window frame so air can circulate.
Food and family photos suit a kitchen: a favourite restaurant, the kids baking, a summer garden party, a holiday market.
The UV printing we use is durable and fade-resistant, but as with any printed product, prolonged direct sunlight over months may cause very gradual fading. If your windowsill gets intense midday sun year-round, consider rotating the blocks seasonally to keep them looking their best.
Choosing the Right Photos
Regardless of which display style you choose, a few principles apply:
High contrast works best. Photos with a clear subject against a distinct background look sharper in acrylic than low-contrast, hazy images.
Crop tight. The block is the frame, so there is no border to add structure. Photos that are already tightly cropped (a face, a building, a single flower) tend to look more striking than wide, busy scenes.
Consider the background. The acrylic is clear at the edges, so whatever surface or wall sits behind the block will be faintly visible. Light walls and neutral surfaces work best. Avoid placing blocks against busy patterned wallpaper.
Match the mood to the room. Energetic photos for the kitchen, calm photos for the bedroom, personal achievements for the office.
Start Small, Build Up
You do not need to order five blocks at once. Start with a single 100x100mm block at £20.00, see how it looks, and add to the collection over time. Because the blocks are freestanding, each new one slots into an existing display without rehanging anything on a wall.
Written by
Antony
Content Team
Part of the Keep It What team, dedicated to helping you create meaningful personalised gifts.
Related Articles

Christmas Wrapping Guide: How to Present Personalised Gifts Beautifully
Acrylic Prints for Photographers and Artists: A Guide to Selling Them Without an Acrylic Printer