How to Design the Perfect Personalised Gift: Tips and Ideas
How to design a personalised gift. Font selection, message ideas, photo tips, engraving vs UV printing guide, and common mistakes to avoid. Practical advice for custom gifts.
How to Design the Perfect Personalised Gift: Tips and Ideas
You have found the product and you know who it is for. Then comes the part that trips most people up: what do you actually put on it?
The font you choose, the message you write and the photo you upload decide whether a nice product becomes a gift the recipient keeps for years, or a golf ball that says "Happy Bithday Dad" in Comic Sans.
This guide covers fonts, wording, sizing, the choice between engraving and UV printing, photos, and the mistakes we see most often.
Choosing the Right Font
Fonts set the tone of your entire gift before anyone reads a single word. The three main categories each carry a different feeling:
Serif fonts (the ones with small strokes at the ends of letters) feel traditional and formal. Think wedding gifts, milestone birthdays and retirement presents. If you are engraving a Custom Engraved Ball Marker Coin with initials and a date, a serif font gives it a classic look.
Sans-serif fonts (clean, no decorative strokes) feel modern, clean, and straightforward. They stay readable at small sizes, which matters more than you might think. On products where space is limited, like golf balls or small coasters, a sans-serif font keeps your text legible.
Script fonts (handwriting-style) feel personal, warm, and decorative. They work well for names and short messages on larger products like photo blocks or recipe books, but they get hard to read at small sizes or with long text, so keep them for a few words.
As a general rule, the smaller the product, the simpler the font. A script font looks lovely on a Personalised Recipe Book cover but would be illegible on a golf tee.
What to Write: Ideas by Occasion
A blank text field is surprisingly hard to fill. These approaches work:
Names and Initials
The simplest option and often the most effective. A first name, a surname, or two or three initials. This works on almost every product: custom golf balls, ball markers, coasters, photo blocks. It is personal without being sentimental, making it safe for colleagues, acquaintances, and anyone whose sense of humour you are not entirely sure about.
Dates
A wedding date, a birthday, an anniversary, the date of a first round of golf together. Dates say a lot in very few characters. The format matters: "15.06.2024" feels different from "15th June 2024" or "June 2024." Choose the format that fits the space and the tone.
Short Messages
"Best Dad Ever" works. "To the world's greatest father who always made time for us even when work was busy and we appreciate everything you have done for this family" does not. On a physical product, short beats long every time. If you have more to say, write a card to go with it.
Coordinates
The latitude and longitude of a place that matters: where you got married, where you met, your favourite holiday spot. This works well on Star Map LED Night Lights paired with the date, and on engraved items where you want something personal that isn't obviously sentimental.
Quotes and Lyrics
A line from a favourite song, a film quote, a family saying. Keep it short, and pick something the recipient will recognise over a generic inspirational quote. Inside jokes work well here, because they'll laugh every time they see it.
For Music Plaques, the Spotify song itself is the personalisation, but you can add a custom message alongside it. Choose a song that means something to both of you.
Shop Personalised Golf Gifts


Character Limits and Sizing
Every product has physical limits, and the best personalisation works within them.
Golf balls have a relatively small printable area. Initials, a first name, or a very short message (two to four words) work best. A photo can also be UV printed onto a golf ball, but keep the image simple: a face, a logo or a bold graphic will print better than a detailed landscape.
Ball marker coins at 30mm or 40mm give you room for initials, a short date, and perhaps a small symbol. Think of it like a wax seal, which works because of how little is on it.
Photo blocks have more room, but the personalisation is the photo itself. Choose a high-resolution image (minimum 600x600 pixels) and think carefully about how it will look at the specific dimensions you are ordering.
Recipe books have the most flexibility, since the UV-printed cover can include a photo plus a custom message. "Mum's Recipes" or "The [Surname] Kitchen" with a family photo is a classic combination.
Engraving vs UV Printing: When to Use Each
These are two very different personalisation methods, and knowing the difference helps you design for each.
Laser engraving physically etches into the material. It is permanent and tactile, with an understated look. You can feel the text with your fingertips. Engraving works in a single colour (determined by the material underneath), so it suits text, initials, simple patterns, and monograms. Products like ball marker coins and wedges use laser engraving.
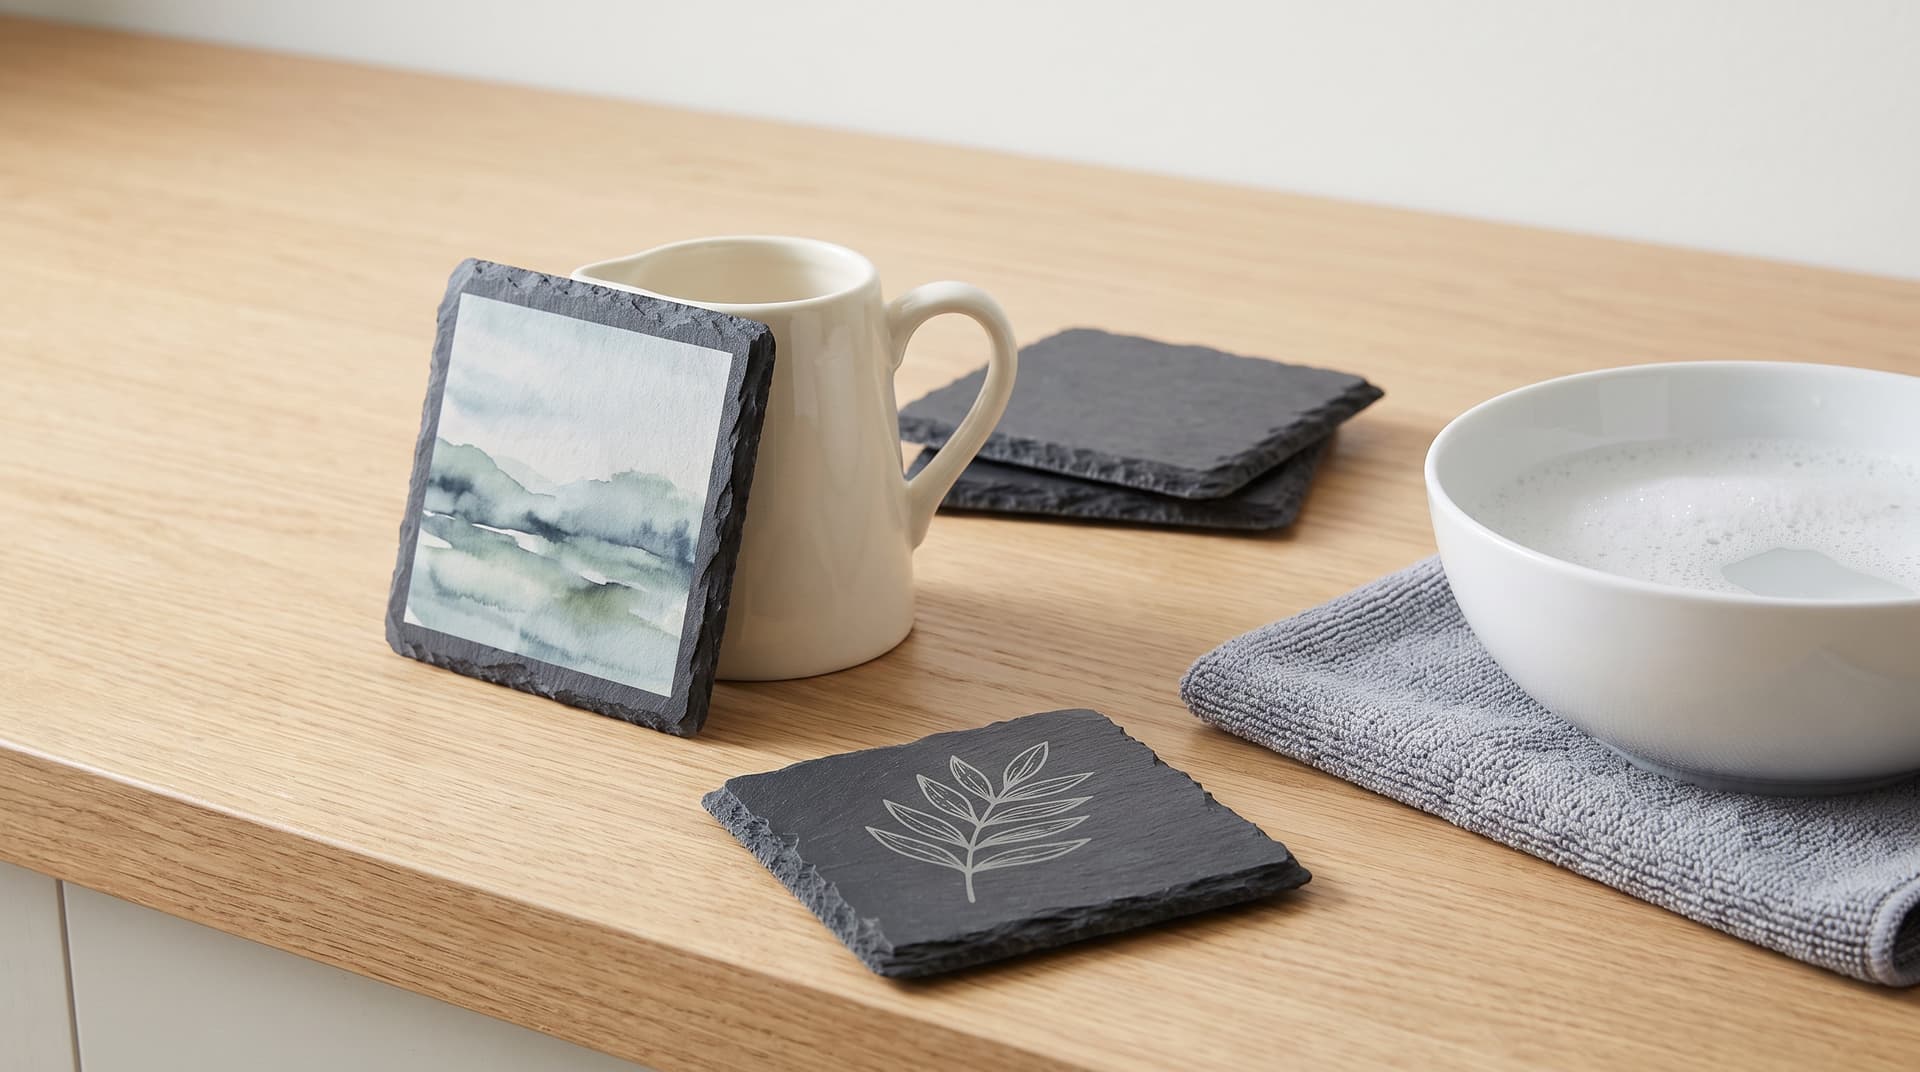
UV printing applies colour directly onto the surface using ultraviolet light to cure the ink. It supports full colour, photographs, gradients, and detailed graphics. The colours are bright and stand out. Golf balls, photo blocks, coasters, and recipe book covers use UV printing.
Choose engraving for a subtle, lasting mark, for text-only personalisation, or for someone who prefers an understated style.
Choose UV printing when you want colour, photos or detailed graphics, when visual impact matters, or when the personalisation is the whole design.
Photo Selection Tips
If your gift involves uploading a photo, the quality of that image decides how good the final product looks more than anything else.
Resolution comes first. For photo blocks, you want a minimum of 600x600 pixels. For larger products, go higher. A low-resolution image will look blurry and pixelated on the finished product, and there is nothing we can do to fix that after printing. Check the pixel dimensions before uploading; how it looks on your phone screen is no guide.
Good light matters next. Bright, naturally lit photos produce the best prints. Dark, underexposed images lose detail, especially in shadow areas. If you have two similar photos and one is brighter, pick the brighter one.
Think about the crop, too. Your photo will be cropped to fit the product dimensions. A square photo block needs a square crop. A landscape mood light needs a landscape image. Before uploading, open the photo on your phone and use the crop tool to preview how it will look at the right aspect ratio.
Keep it simple. A clear subject against a plain background looks better than a busy, cluttered image. Close-up portraits, single flowers, and clean compositions translate best to printed products.
And avoid heavy filters. Instagram filters and heavy editing can look great on a phone screen but odd when printed onto acrylic or slate. Stick to natural colours and minimal editing for the best results.
Common Mistakes to Avoid
These are the mistakes that come up again and again.
The most common by far is too much text, where people try to fit an entire message onto a small product. If you cannot say it in five words or fewer, consider whether the product is the right format for that message.
Then there are spelling mistakes. Check the text three or four times, and read it out loud letter by letter, because there is nothing worse than a beautifully engraved ball marker that says "Micheal" instead of "Michael."
Low-resolution photos are covered above, but they bear repeating: a blurry photo on an acrylic block wastes a good product.
Generic messages are another. "Best Mum Ever" is fine, but "Queen of the Sunday Roast" is better, because it could only be about her.
Some people ignore what the product does well. An engraved product looks best with clean, simple text, and a UV-printed one with colour and imagery.
Finally, think about context. A golf ball with a cheeky message is funny in a gift bag. It is less funny when your dad accidentally plays it in the club championship and it lands next to the group captain's ball on the green. Think about where and how the product will actually be used.
Making It Truly Personal
What separates a good personalised gift from a great one is how specific it is. Anyone can put a name on a golf ball, but a name, a date and an inside joke on a ball marker shows you thought about it properly.
Here are some ideas for making it personal:
- The date you met rather than a birthday everyone knows
- A nickname only close family use
- Coordinates of a place that means something to both of you
- A quote from a conversation you both remember
- A pet's name (never underestimate how much people love their pets)
- A family recipe title on a recipe book cover
- The score from a memorable round of golf
The best personalised gifts are the ones where the recipient looks up and asks, "How did you know?" That usually comes down to the font, the words and the photo suiting the product, more than the price.
Products Best Suited to Each Design Approach
For sentimental dates and names (engraving):
For full-colour photos (UV printing):
- 25mm Acrylic Photo Block (from £20)
- Custom Photo Jigsaw A4 80pc (£23)
- Personalised Recipe Book (£30)
For moments captured in light (backlit acrylic):
For interactive gifts (photo prints on shaped surfaces):
Browse the full personalised range at Keep It What Products, or shop by collection: Framed, Romantic, Golf, Cooking, Kids.
Written by
Andrew
Content Team
Part of the Keep It What team, dedicated to helping you create meaningful personalised gifts.
Related Articles
Christmas Wrapping Guide: How to Present Personalised Gifts Beautifully
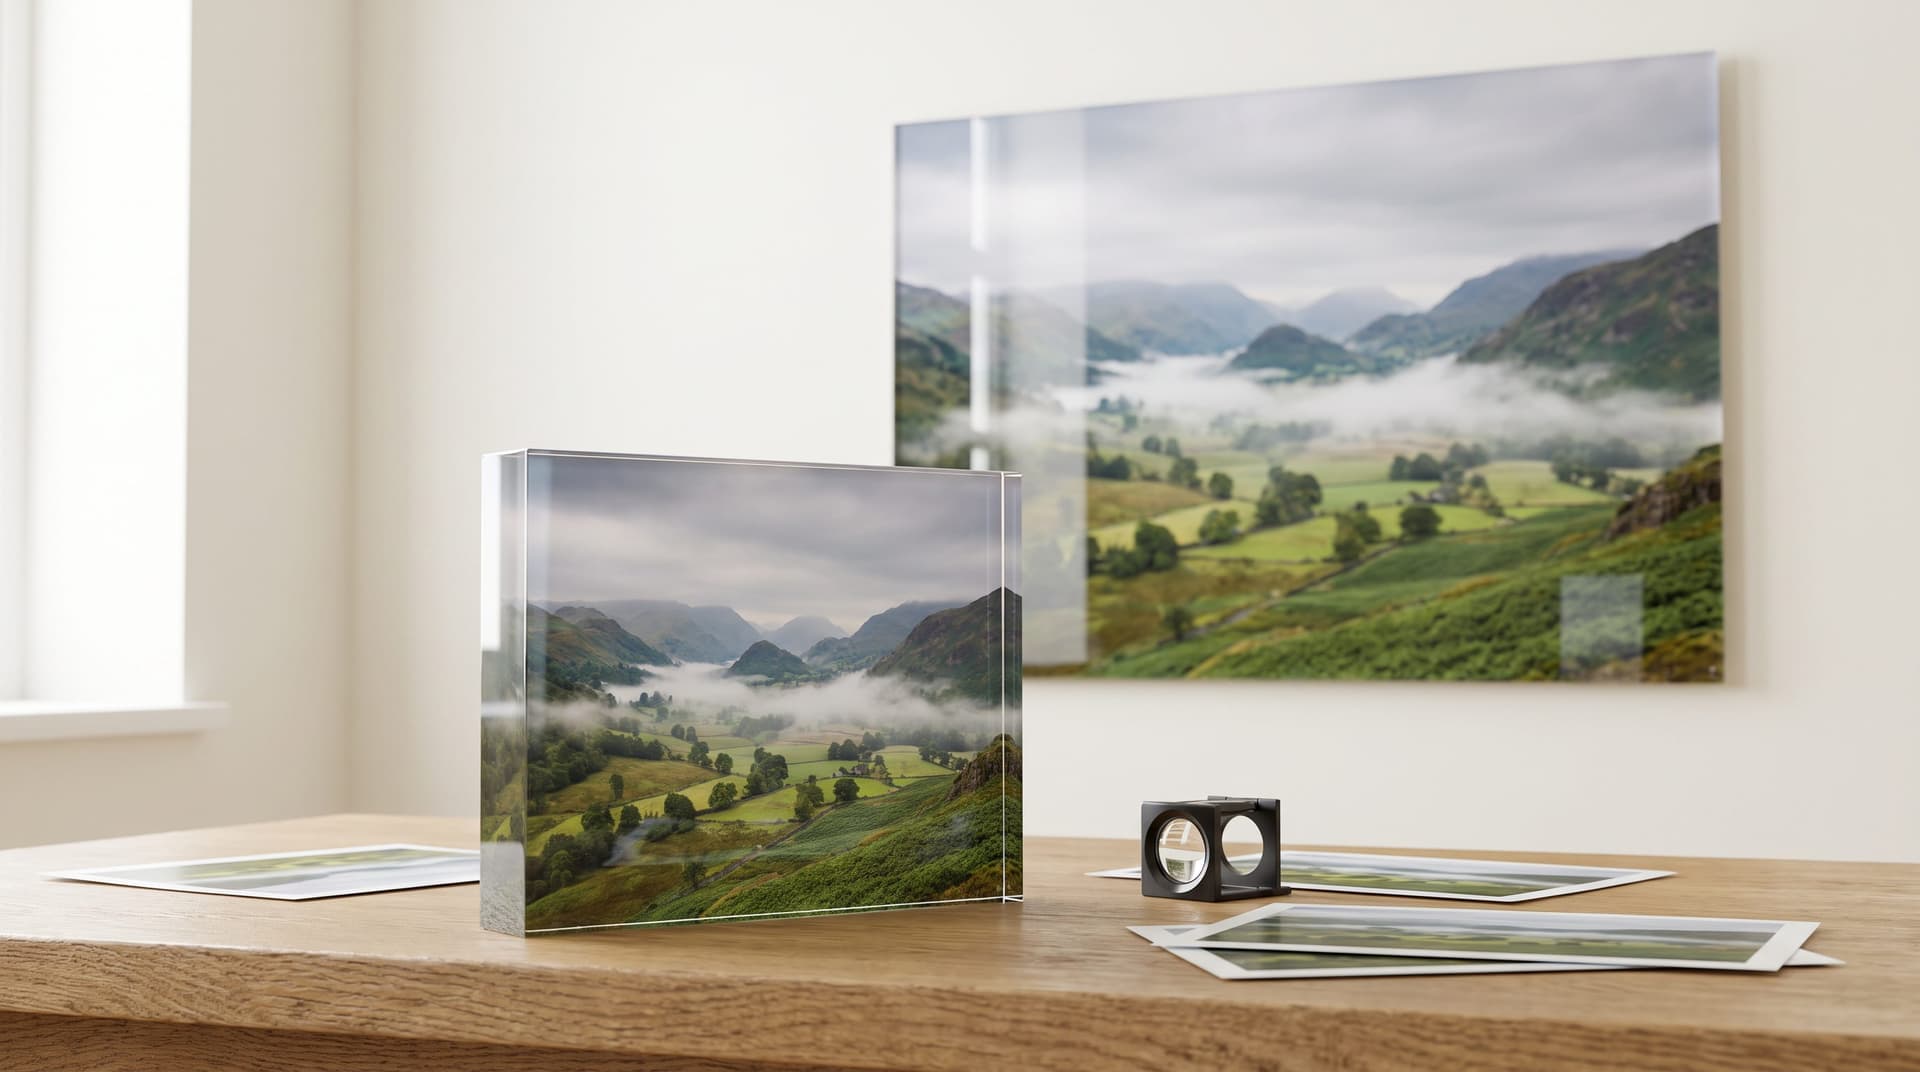
Acrylic Prints for Photographers and Artists: A Guide to Selling Them Without an Acrylic Printer